
How to Beat Happy Wheels Levels
Speed is optional. A living torso at the flag, or the last token, is the actual win.
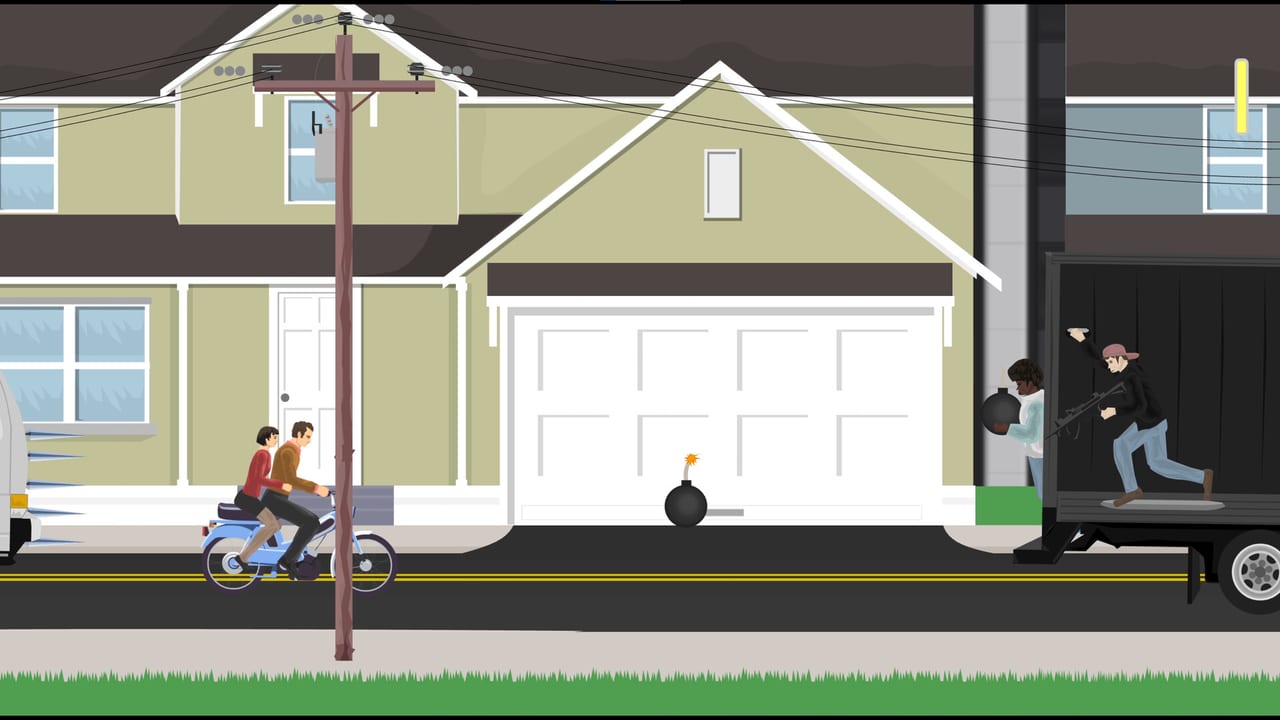
Happy Wheels levels are user puzzles wearing a slapstick skin. The physics are consistent. The win rule is not. Some maps want you at a painted finish line. Some want every token. Some look like a race and fail you the moment the head comes off, even if the wheelchair crosses the flag. Beat the level that was authored, not the level you assumed from the thumbnail.
If you are still learning the site itself, run the browser first-hour loop once, then come back. This page assumes you can drive.
Speed versus survival
Featured levels reward clean lines, not world records. Flooring Up through a saw hallway is how highlight reels are born and how runs die. Survival means entering a jump at a speed you can still lean, braking before a crusher, and accepting a slow roll if the alternative is a cartwheel into spikes.
Speed is correct on open ramps, when Wheelchair Guy’s jet needs airspeed, or when a token sits on a moving platform. Survival is correct on indoor maps, forced-bike maps, and any level whose description mentions keeping your head.
If you want a vehicle that matches a gentle first clear, use the easier starter vehicles list, then the wider character power ranking once you are choosing on purpose.
Lean on jumps
Left and Right are how you land. The lean and eject keys are not optional flavor. On a ramp, hold Up until the wheels leave the lip, lean so the underside faces the landing, stop the lean before you invert, and tap Down if you are about to nose-dive.
Over-lean is the silent killer. Players hold Left the entire flight because the last jump needed Left. Each jump has its own landing angle. Release. Look at the wheels. Correct. Segway Guy can add a Space jump at the lip to flatten a gap. Wheelchair Guy can pulse the jet instead of holding it. Pogostick Man should already be charging before the edge, not after.
When ejecting wins
Eject is a tool. It is also how you throw a torso into a blender. Eject on purpose when the vehicle is about to enter a crusher or a tunnel that is too small, when a token sits on a ledge the seat cannot reach, when a secondary body must keep moving after the driver is cooked, or when Effective Shopper can abandon the cart, grab a token, and re-grab.
Do not eject because you are scared of a gap the vehicle can clear. A seated landing is almost always more stable than a flying corpse. After Z, Up straightens, Down curls, Space grabs. Straighten to hook. Curl to fit. Grab anything that looks like a bar.
Irresponsible Dad and Irresponsible Mom split ejects: Shift for the parent, Ctrl for the child, Z for both. Token maps often want the child off the bike. Finish-line maps often want the parent still seated. C exists so you can see which body the camera still cares about.
Tokens, secondary bodies, and the heart-camera
Head or torso destruction usually fails a finish-line win. If your skull is gone, restart. If the chest is gone and the camera follows a heart, you are a spectator. Steering the heart is a joke, not a strategy, unless the map is a token hunt and another ragdoll is still alive.
Secondary characters can still collect tokens. Dad’s child, Mom’s child, the moped passenger, Santa’s elves, and other extra bodies keep a token run legal after the driver is paste. That is why a map that looks failed in the first ten seconds can still complete if you switch camera with C and keep the leftover body moving.
Bleeding out is slower. A wound that does not destroy the head or torso can still drain you before a distant flag. If the blood trail is heavy and the finish is far, restart. If the token is in the same room, limp.
Forced characters
Authors can lock the roster. A forced character is the puzzle. Playing Wheelchair Guy on a minecart rail map is not clever; it is a different game than the one that was built. Accept the lock. Learn that vehicle’s special on a flat stretch, then retry the featured layout.
Forced locks are why the editor matters even if you never publish. Why maps force a character is the author-side view of the same rule. If you hate the lock, favorite a different map.
Read the description twice
Before Up, read the title for “token,” “collect,” or a character name. Read the description for the real win rule. Look at the forced-character icon if one exists. Note whether a finish line is even visible on the preview.
Play one scouting run where you do not care about a clear. Walk into the first trap on purpose. Restart. Now you are playing the real map. A scouting death is cheaper than five ego retries.
You will fail maps that are badly built. Leave those. Featured and highly rated maps are the training set. Save your stubbornness for a level that has a visible, honest win object.
When a clear finally sticks, it will be because you treated the ragdoll as a resource and the description as the ruleset. The win is still a line or a count of tokens.
Frequently Asked Questions
Quick answers to the most common Happy Wheels questions.
Should I go for speed or survival in Happy Wheels?
Default to survival. Speed is for open ramps and moving tokens. Indoor saw maps want brakes and lean, not a full Up hold.
When is ejecting the correct play?
When the vehicle cannot fit, when a token needs a grab, or when a secondary body must continue. Do not eject at ordinary gaps. See the lean and eject keys.
How do token levels work if my main body dies?
Secondary characters can still collect tokens after the driver is gone. Finish-line maps usually fail if the head or torso is destroyed.
What does a forced character mean?
The author locked the roster. Drive that vehicle. The lock is the puzzle. Author tools for that lock are on why maps force a character.
Why did I fail after losing my head?
Head or torso destruction usually fails a finish-line win. The heart-camera is a corpse cam. Restart unless tokens remain and another body is alive.